Eavestroughs, also known as gutters, play an essential role in protecting your property from water damage. They route rainwater away from your roof and also foundation, preventing issues just like mold, mildew, and even strength damage. Over time, however, eavestroughs can become clogged, damaged, or simply wear out. Here are some typical indications that it might be time to swap your eavestroughs: What do you consider about eavestrough replacement?
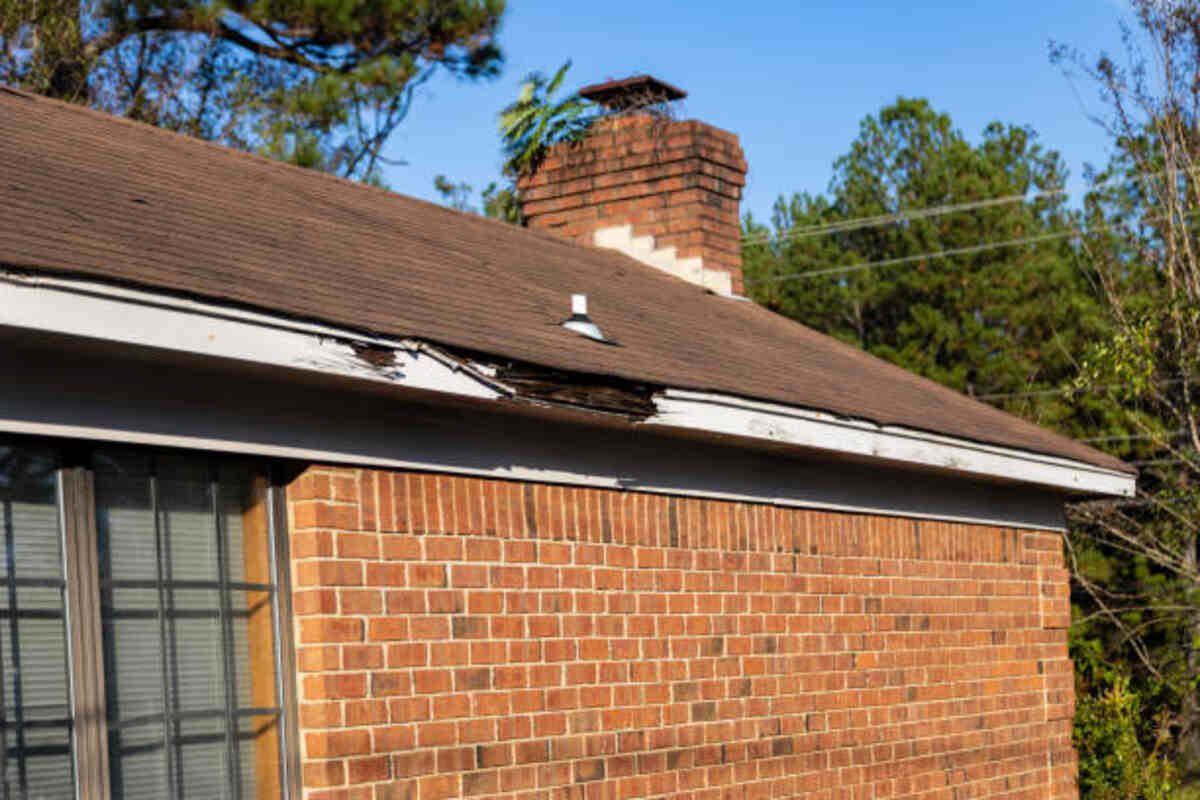
Leaks, in addition to Holes
Small leaks are frequently patched, but extensive deterioration might require a full replacement. Coolant leaks can occur due to corrosion, real damage, or wear and tear after a while. If you notice multiple leaks as well as large holes, it’s an apparent sign that your eavestroughs will be performing efficiently. Ignoring these issues can lead to more severe water damage and mold.
Sagging or Pulling At a distance
Sagging eavestroughs indicate that they’re no longer securely attached to your own home. This can be caused by the piling up of debris and water, as well as simple age and have-on. When gutters sag, they can effectively channel water far away from your house. This can lead to water grouping around your foundation, producing potential structural issues.
Oxidation or Corrosion
Metal eavestroughs can rust over time, particularly when they’re not properly maintained. Rust weakens the design of the eavestroughs, putting them at risk of leaks and breakage. Frequent inspection and maintenance can slow down the rusting process, but finally, replacement may be necessary to assure optimal performance.
Peeling Shade or Mold
Peeling shade or the presence of fungal are signs that water isn’t being adequately led away from your home. This can lead to considerably more significant problems like absolute wood rot or foundation deterioration. Addressing the root cause by replacing faulty eavestroughs can undoubtedly prevent these issues from escalating.
Tools and Resources You’ll Need
Before you start, make sure you have the necessary tools and resources. Here’s a handy list to get started on:
Essential Tools
You’ll need a hierarchy to reach your eavestroughs properly. Ensure it’s sturdy and placed on a stable surface. Any measuring tape is crucial when getting accurate measurements for your fresh eavestroughs. A chalk series helps mark precise collections for cutting and setting up. Hacksaws or tin snips are needed to cut the particular eavestroughs to the required plans.
Fasteners and Sealants
Any drills and screws are necessary for securing the eavestroughs and hangers in place. Gutter sealant is used to seal off joints and prevent leaks. Make sure you have enough screws and sealant for the entire installation process.
Fresh Eavestroughs and Accessories
You must pick new eavestroughs and sprockets to replace the old ones. In addition, gutter hangers provide important support to keep your eavestroughs strongly attached to your home. Make sure you have the right type and quantity of each one.
Step-by-Step Guide to Eavestrough Substitution
Step 1: Remove the Old Eavestroughs
First things first, you need to remove the previous eavestroughs. Carefully climb your ladder and start by unscrewing the fasteners, which often hold the eavestroughs in place. Once the anchoring screws are removed, you can take decrease the old eavestroughs. Be sure to dump them properly.
Removing your eavestroughs involves carefully detaching them from the roofline. Start at one end and work your way to the other, making certain you don’t damage the roof or siding. It’s helpful to have a partner hold the ladder continuously while you work. Dispose of your eavestroughs according to your local laws.
Step 2: Measure and Lower the New Eavestroughs
Next, evaluate the length of the areas where you’ll install the new eavestroughs. Start using measuring tape to get the correct measurements. Mark these proportions on your new eavestroughs and also use a hacksaw or jar snips to cut them to size.
Accurate measurements are crucial to a successful installation. Double-check your current measurements before cutting to avoid mistakes. Use a chalk line to mark the right lines on the eavestroughs for precise cutting. Cutting the eavestroughs to the correct duration ensures a proper fit and effective water drainage.
3: Install the Gutter Hangers
Gutter hangers are essential for supporting your eavestroughs. Install them over the length of the roofline, spacing them about 24 inches apart. Use a drill to secure them in place.
Properly between the hangers’ teeth ensures that the eavestroughs remain stable and will handle the weight of water and debris. Secure the hangers firmly to prevent them from coming loose as time passes. Double-check the alignment to ensure that the eavestroughs are level and adequately sloped for drainage.
Step 4: Attach the New Eavestroughs
Now it’s time to attach the new eavestroughs. Start at one stop of the roof and work your way to the other, securing the eavestroughs to the hangers you installed earlier. Make sure the eavestroughs are often sloped a little downward toward the pickets to ensure proper drainage.
Making sure the proper slope is crucial to get adequate water drainage. Start using a level to check the mountain as you go along. Secure often the eavestroughs to the hangers having screws, making sure they’re securely in place. Work methodically, avoiding any gaps or misalignments.
Step 5: Seal the Joints
To counteract leaks, use gutter sealant to seal the joints everywhere two sections of eavestrough connect. Apply a generous amount of sealant and allow it to dry completely.
Sealing the joints is often a critical step to prevent water from leaking through. Possibly, you should be thorough in applying the sealant and covering all seams and connections. Allow the sealant to cure according to the manufacturer’s guidelines to ensure a watertight seal. Check for any missed areas and apply additional sealant if necessary.
Step 6: Install the particular Downspouts
Finally, the particular downspouts attached are attached to the eavestroughs. All these will direct the water far away from your home’s foundation. Safe the downspouts with anchoring screws and make sure they extend much enough away from the house.
Correctly installed downspouts ensure that drinking water is effectively directed far from home. Use screws to save the downspouts to the eavestroughs and the wall of your house. Make sure the downspouts are angled correctly to carry water from the foundation. Check for any leakages or misalignments and change as needed.
Maintenance Ideas to Keep Your Eavestroughs in Top Condition
Now that you’ve replaced your eavestroughs, it’s essential to keep them in good shape. Here are some simple maintenance suggestions:
Regular Cleaning
Keep your eavestroughs free of debris by cleansing them out at least two times a year. This will prevent blocks and ensure proper water circulation. Use a garden hose to eliminate any remaining debris right after removing the larger pieces. Regular cleaning can extend the actual lifespan of your eavestroughs and stop the potential damage.
Check for Leakages
Periodically inspect your eavestroughs for leaks and close off them as needed. Search for signs of water damage on your home’s living room exterior, which can indicate the leak. Use a gutter sealant to fix any leaks quickly. Addressing leaks early may prevent more extensive water damage and mold.
Trim Overhanging Branches
Cut overhanging branches to reduce the debris that falls into your eavestroughs. This simple stage can minimize the rate of recurrence of cleaning and prevent clogs. Frequently check for new growth and trim as necessary. Keeping divisions away from your roof also helps safeguard your shingles and house.
Inspect Hangers and Nails
Make sure all hangers and fasteners are secure, and replace any that are harmed. Loose hangers can cause your eavestroughs to sag or even detach from your home. Regularly what is the condition of the hangers as well as screws, tightening or changing them as needed? Making sure everything is securely attached helps maintain the integrity of your eavestrough system.
When to Call up a Professional
While replacing eavestroughs can be a DIY project, there are occasions when it’s best to call in a professional. Should you be dealing with exceptionally high or maybe difficult-to-reach eavestroughs, or should you be not comfortable working on a corporate, it’s safer to hire a specialist. They have the experience and tools to get the job done as well as efficiently.
High or Hard-to-Reach Areas
If your eavestroughs are in high or hard-to-reach areas, it may be best to call a professional. Working at altitudes can be dangerous, especially if you aren’t experienced or don’t have the correct equipment. Professionals have the needed tools and safety products to handle these situations. Getting a professional can ensure the job is conducted correctly and safely.
Intensive Damage
If your eavestroughs sustain extensive damage, a professional can assess the situation and recommend the best course of action. They can evaluate whether repairs are sufficient or whether a full replacement should be used. Professionals can also identify any underlying issues that may have caused the damage. Addressing the root cause can prevent future troubles.
Lack of Experience
If you’re not necessarily confident in your DIY knowledge, it’s better to hire a specialist. Eavestrough replacement requires precise tools and expertise to ensure proper installation. Mistakes may result in water damage and additional repair charges. A professional can provide peace of mind and understanding the job is done right.
Realization
Replacing your eavestroughs doesn’t always have to be a complicated task. With the necessary tools, materials, and a little know-how, you can protect the house from water damage and keep your eavestroughs functioning properly. Whether you choose to tackle this task yourself or hire an expert, maintaining your eavestroughs is definitely an essential part of homeownership. Therefore, roll up your sleeves and get ready to replace those aged, worn-out eavestroughs!
Remember, just a little maintenance goes a long way toward keeping your home safe and sound. Happy eaves roughing!
Read also: Transform Your Home with Swift Carpet Cleaning: Las Vegas’ Experts