Potatoes thrive best when planted in full sun with well-draining soil. To protect their plants from being exposed to direct light, gardeners practice hilling–an act that involves mounding up dirt around their plants periodically during their growing season–in order to shield their leaves. Do you know how to plant seed potatoes?
Before planting outdoor potatoes, select seed potatoes with at least two sprouted eyes. Chit the potatoes in a box or egg carton for two to four weeks prior to the outdoor planting date before sending them outside for planting.
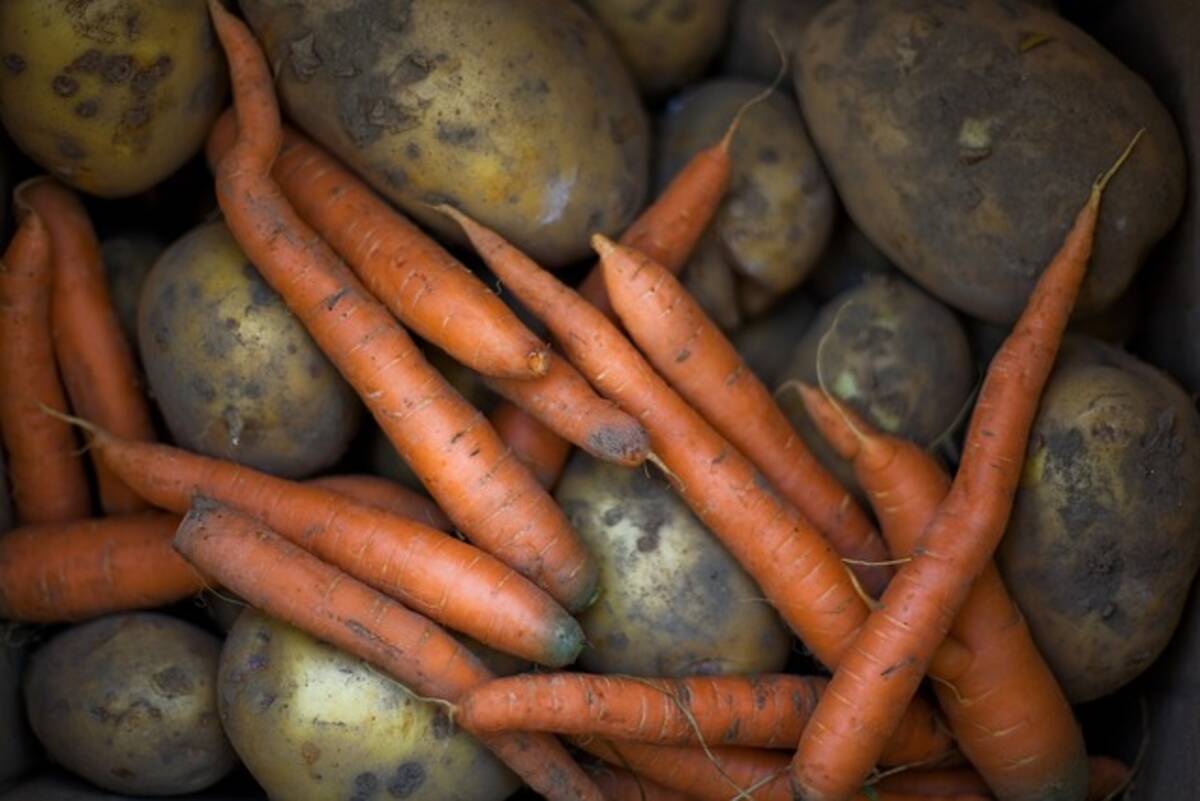
Prepare the Soil
Potatoes thrive best in well-drained soil that is abundant with organic matter. Organic matter encourages healthy root development while strengthening soil structure. Furthermore, proper water drainage ensures your crop doesn’t rot! For best results, work organic matter into your garden soil two weeks prior to planting using compost, well-rotted manure, or leaves, as this promotes tuber formation rather than foliage growth.
Select seed potatoes that are free from diseases to ensure a successful crop. It is usually best to purchase seed potatoes from a garden center or nursery rather than grocery stores since those are often treated with a growth inhibitor to stop sprouting. Cut your seed potatoes into sets that each contain at least one or two eyes prior to planting them.
At least two weeks prior to planting your seed potatoes, place them in a sunny location at temperatures between 60 and 70 degrees Fahrenheit for optimal sprouting results. You can also sprinkle powdered sulfur onto each cut seed potato immediately after cutting to help protect it against rot.
Once sprouts appear, plant seed potatoes in rows that are 12 inches apart and four inches deep. If using the straw method, mound up additional straw as plants develop an effective mulch that conserves soil moisture while suppressing weeds.
Hill the Plants
Potatoes are heavy feeders that need well-draining soil in order to thrive, yet are frost-resistant. Due to light damage from sunlight and frost exposure, however, potato plants are susceptible to turning green and becoming inedible; to prevent this from happening, gardeners will mound up earth around the stems as the plants develop (known as ‘earthing up”). This process should be repeated several times throughout their growing season so as to shield developing tubers from sunlight damage and frost exposure.
Plant only certified disease-free seed potatoes when planting potatoes, as non-certified ones will quickly rot. A week or two prior to planting, place seed pieces in a warm, regulated location to induce sprouting. When growing seed sets instead, make sure each set has one or more “eyes,” which will become tubers as new tubers form from them.
On the cut surface of a potato tuber, there are tiny scars called eyes, which resemble eyebrows and serve as buds where stems will develop; for these to form successfully, they require high humidity, ample oxygen, temperatures between 50-65 F, warm moist soil for curing purposes and temperatures of 50-65F to heal correctly; otherwise, seed pieces will rot in the soil requiring at least four or five days to develop before planting them out. Ideally, cut surfaces are left to cure for four or five days prior to being planted out.
Fertilize
Potatoes require frequent fertilization if planted in soil with deficient nutrition, mainly when grown on sandy surfaces. A balanced all-purpose slow-release fertilizer should be applied a week or two before planting, but fresh manure isn’t advised as it may encourage scab. Some growers add organic material like compost to the soil before planting, but liquid fertilizers are preferable due to being more effective and being able to be measured via home soil testing kits.
When purchasing seed potatoes, look for those with a blocky shape and many eyes (small bumps that resemble eyebrows). The more eyes per piece, the better; this will increase yield. When growing seed potatoes in pots, make sure their sprouts face upward, and keep them under cool, bright light for at least two weeks to help create thick, dark green sprouts that will withstand outdoor growing environments.
Before planting potatoes, sprouts should be at least an inch long, and all cut surfaces should be smooth to prevent the formation of scabs. Avoid supermarket or grocery store potatoes, which often contain chemicals that inhibit sprouting; plant yours between April and May for maximum development of plump tubers.
Harvest
Potatoes thrive best in loose, deep, loamy soil that holds moisture but drains efficiently and is slightly acidic without inhibiting beneficial bacteria that facilitate nutrient uptake. For those growing their potatoes in less-than-ideal conditions, working compost and organic matter into the soil may help improve drainage while providing essential nutrients. If growing on sandy or heavy clay soils isn’t an option, however, beware of scab – an illness that reduces yield while also wiping out many varieties of potatoes!
For best results, seed pieces must first be chitted or sprouted prior to planting in order to prevent scab. A week or two before your planned planting date, place the potatoes in a warm area where light and temperatures between 60-70 F can help stimulate sprouting. Once their cutting surfaces develop a thick callous, they are ready for planting with eyes (buds) facing upward.
If planting in the ground, dig a trench 6 inches deep and space seed pieces 12-15 inches apart in it. As soon as they emerge from their pods, cover each set with 3-4 inches of soil to prevent weeds and provide extra protection from sunlight that could cause greening. Alternatively, use commercial growing bags or large pots filled with a mix of soil and compost where three to four seed pieces can be planted before adding more soil as the plants flourish.